
The Walls
The walls are covered! I had a huge assist from a contractor friend who very generously decided to send a couple of his guys out to just throw up the plywood over the walls and the ceiling sheathing. They saved me probably 5 hours of work!!
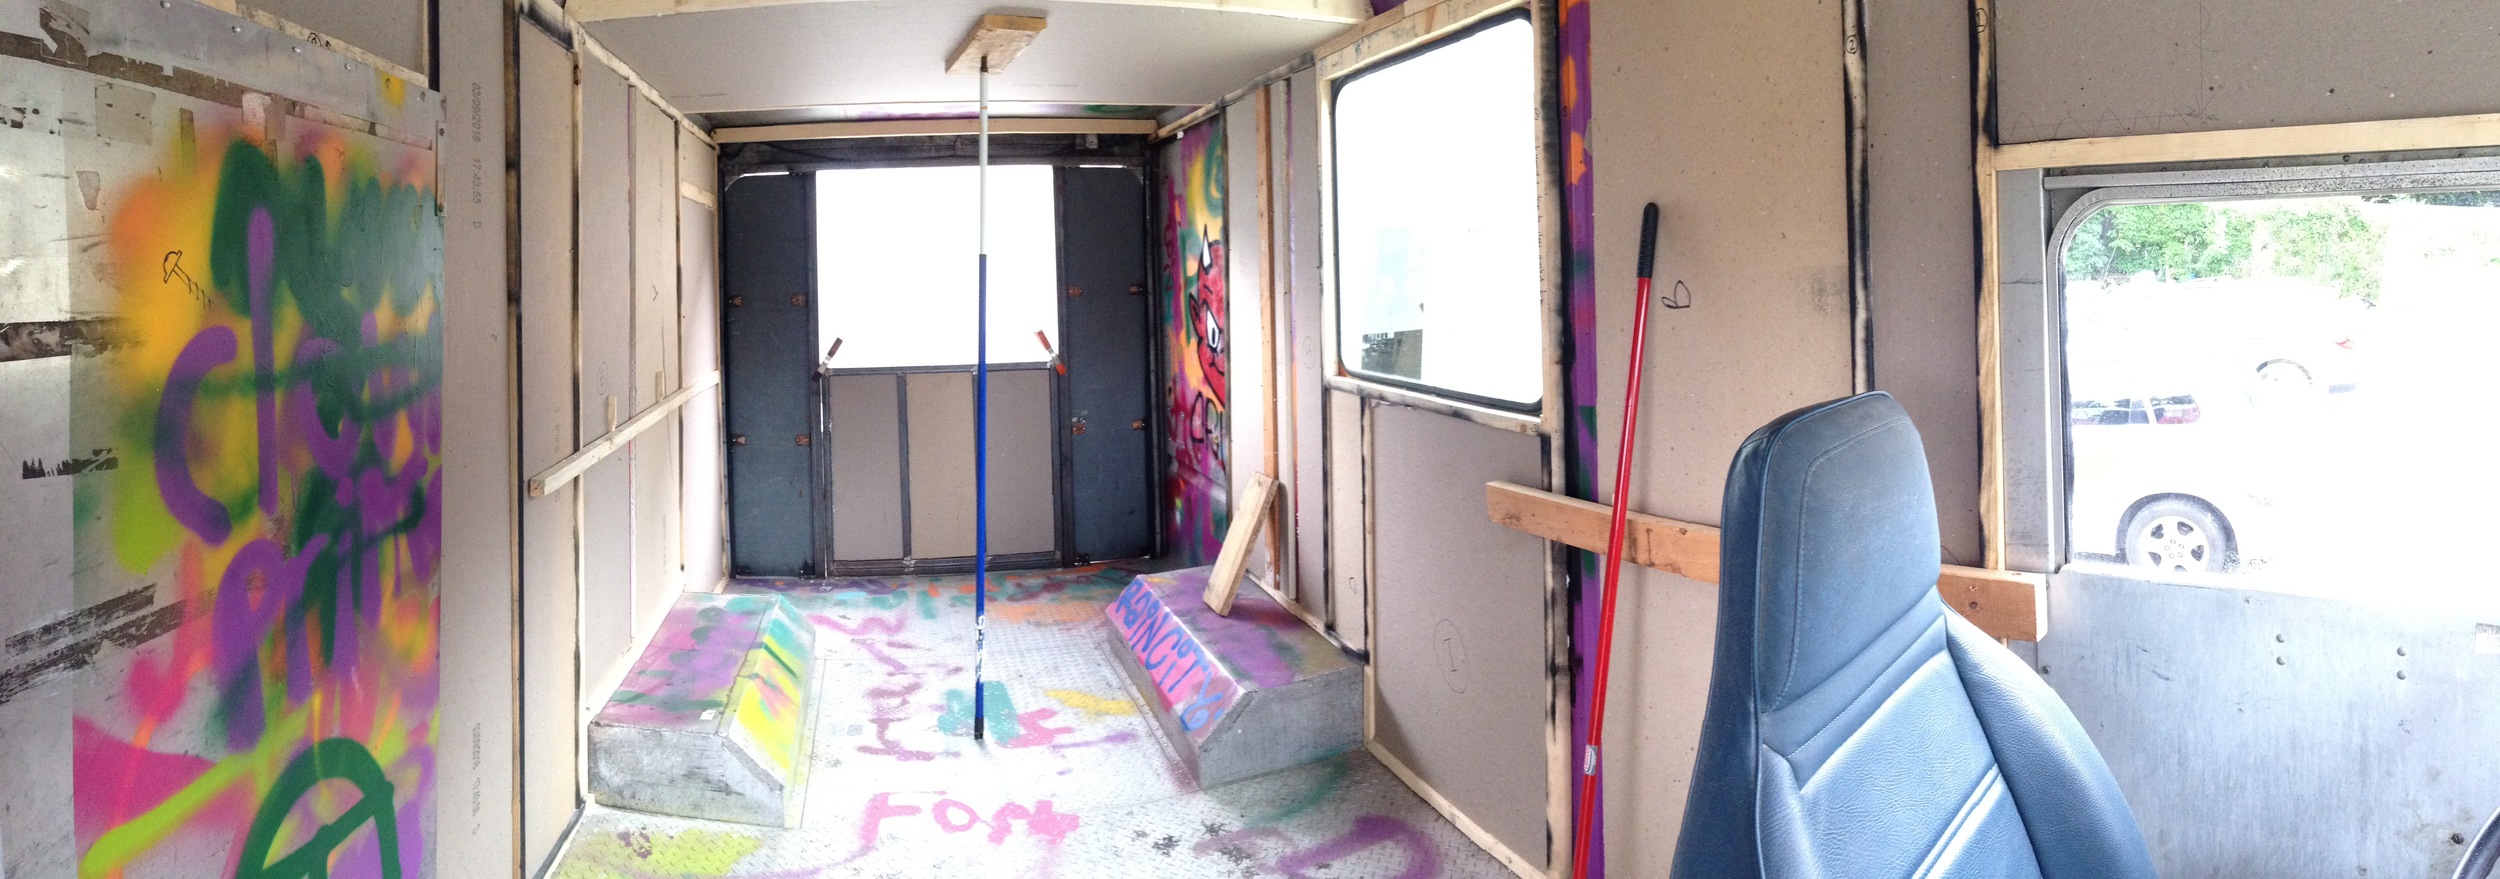
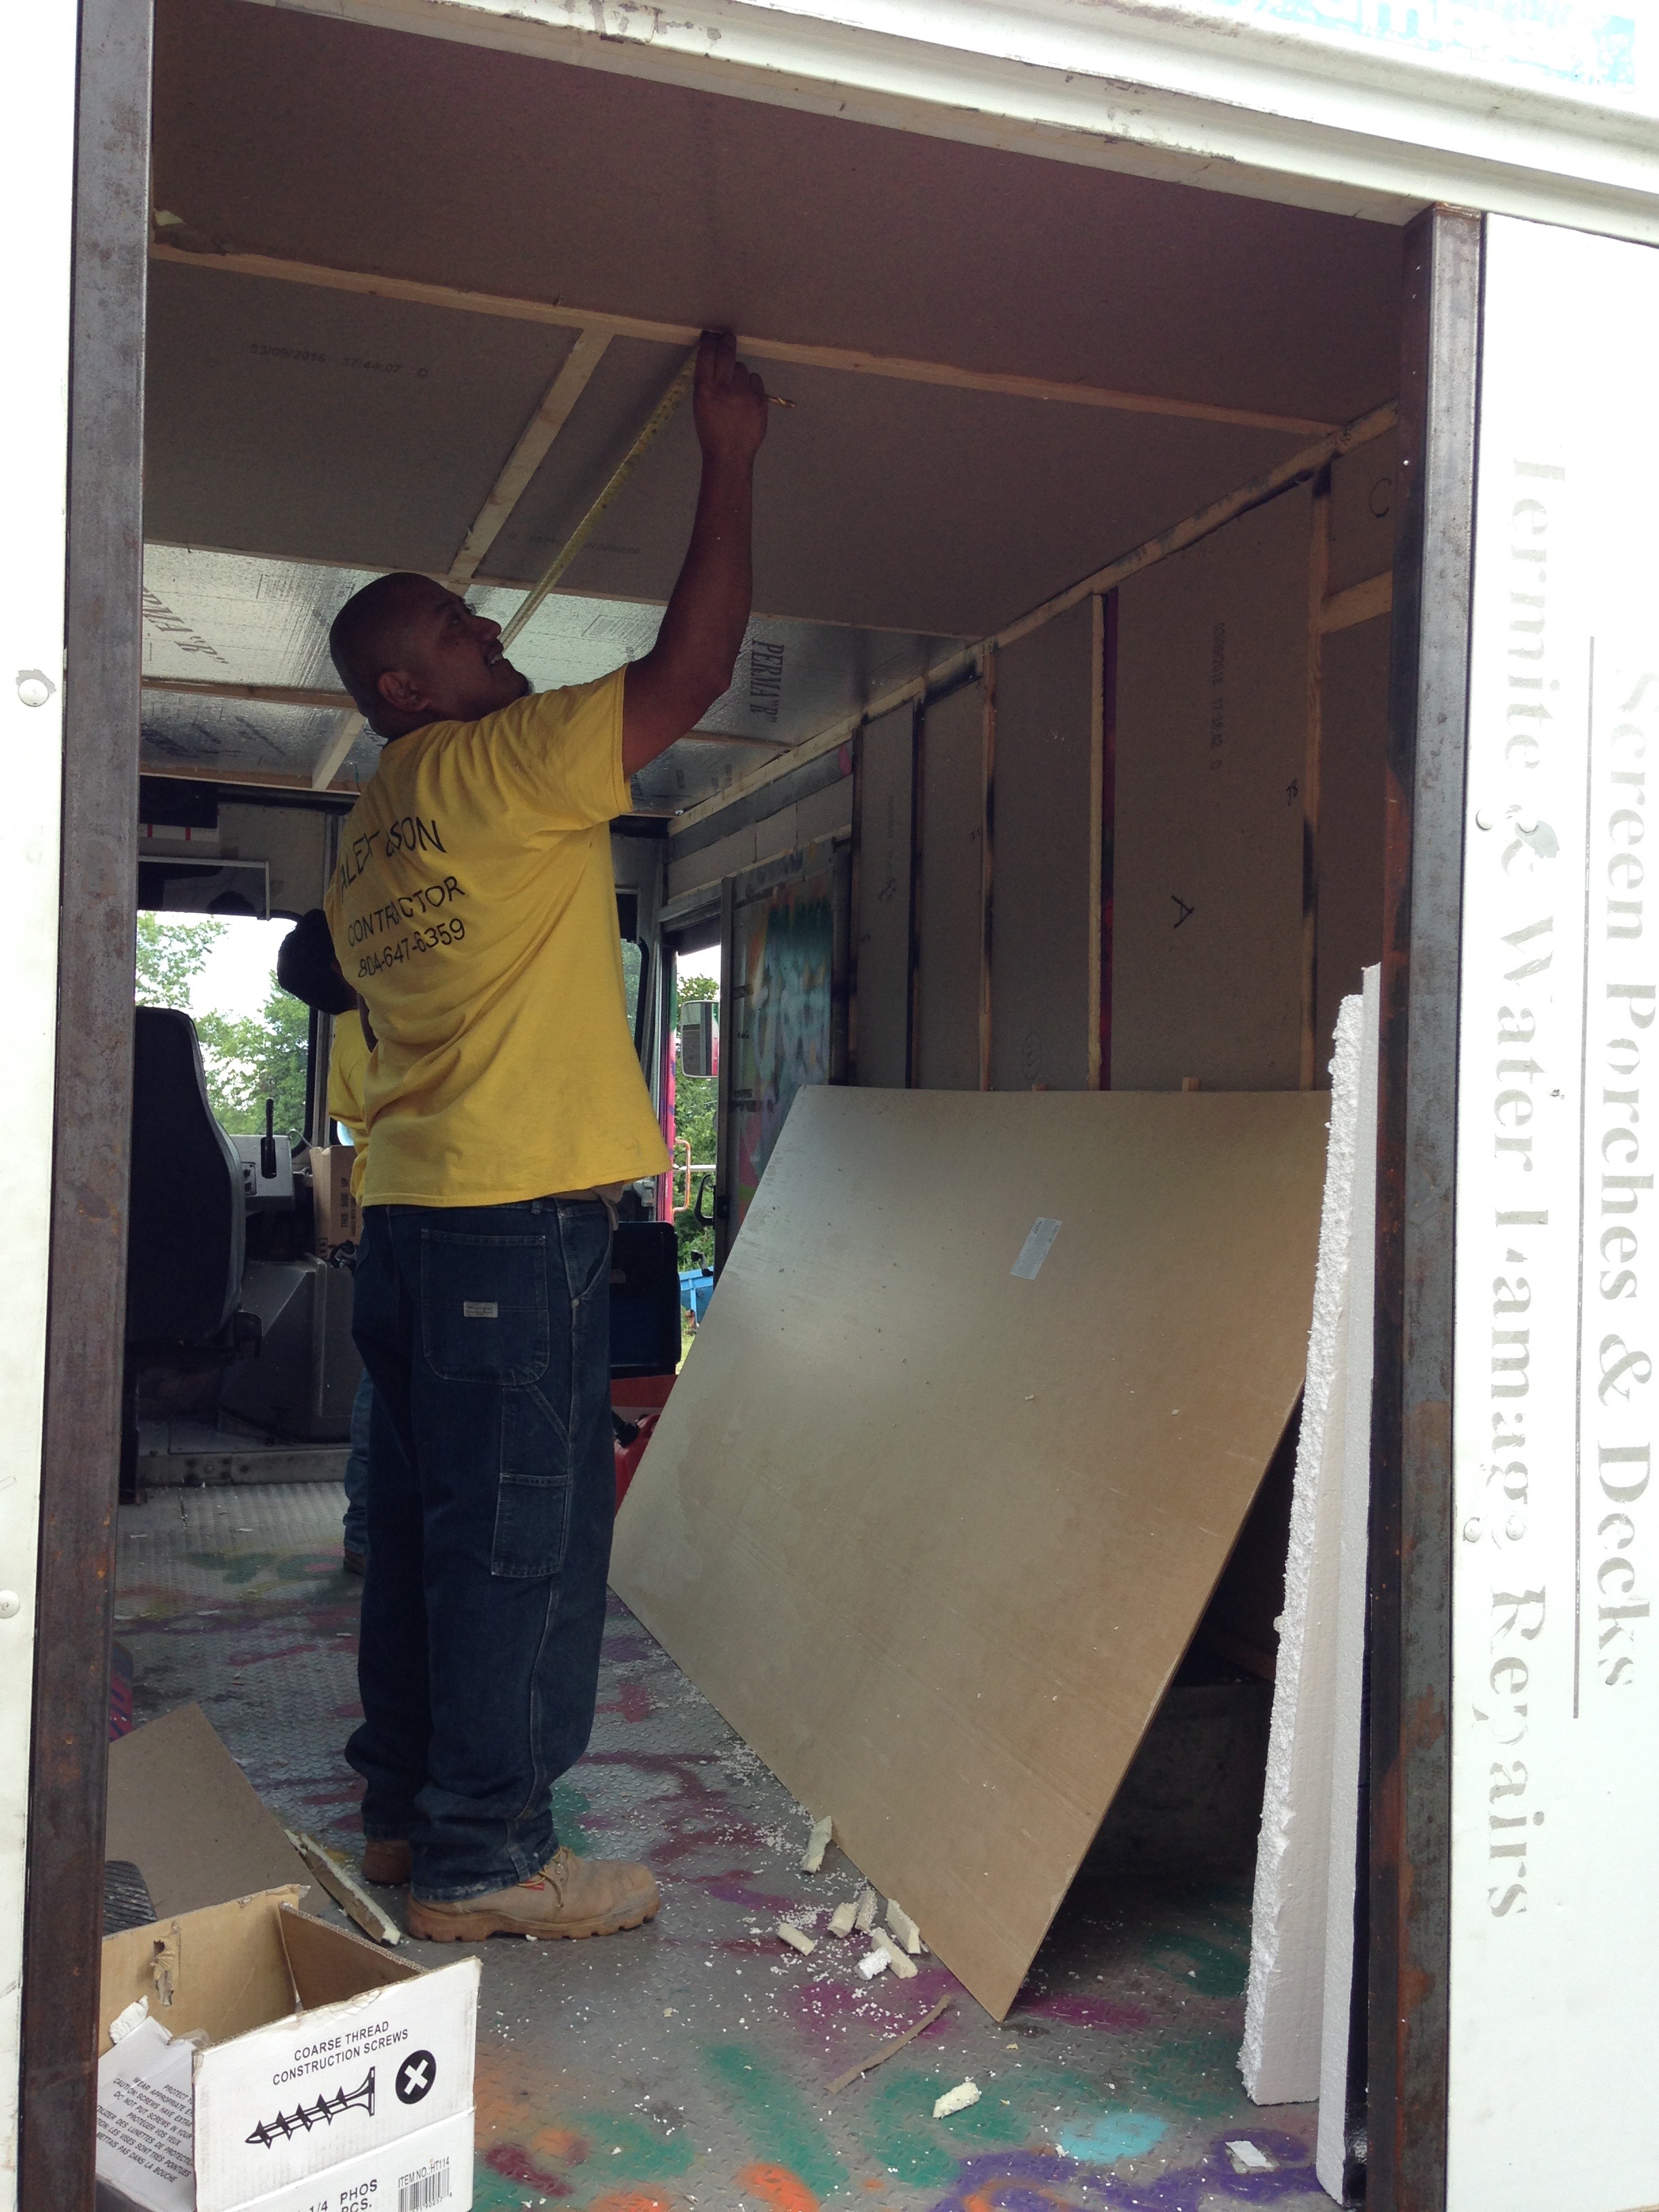
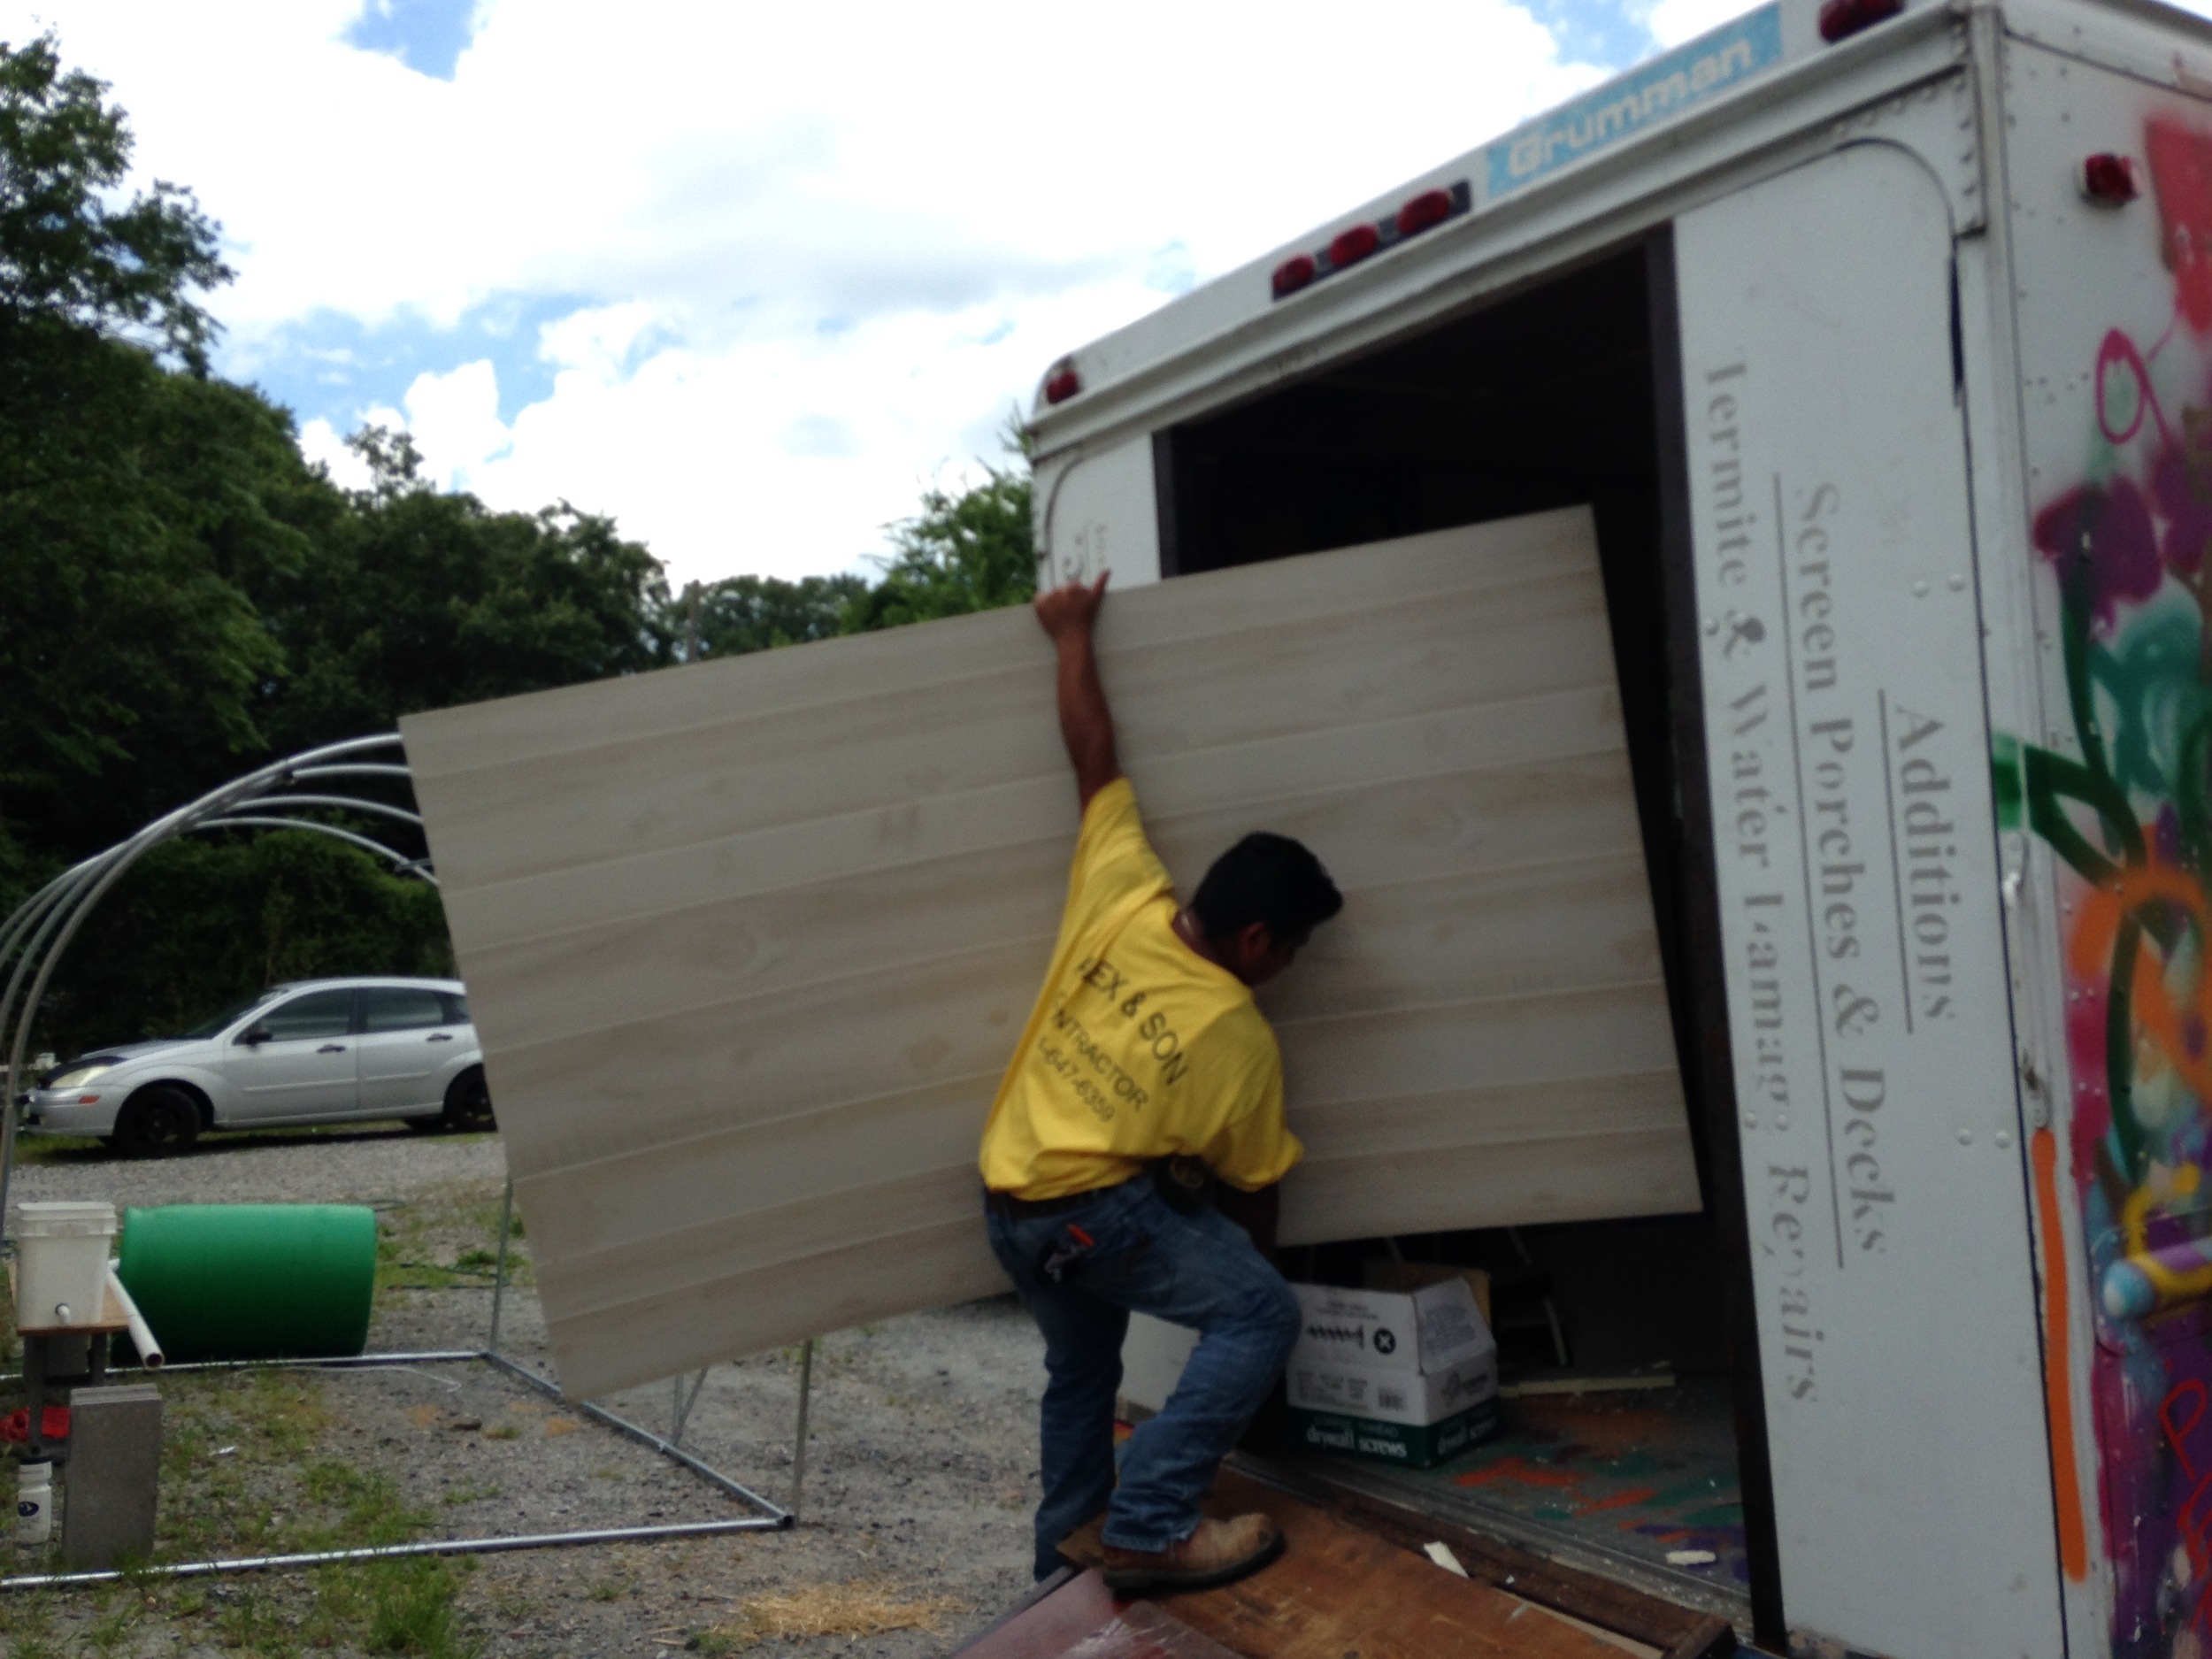
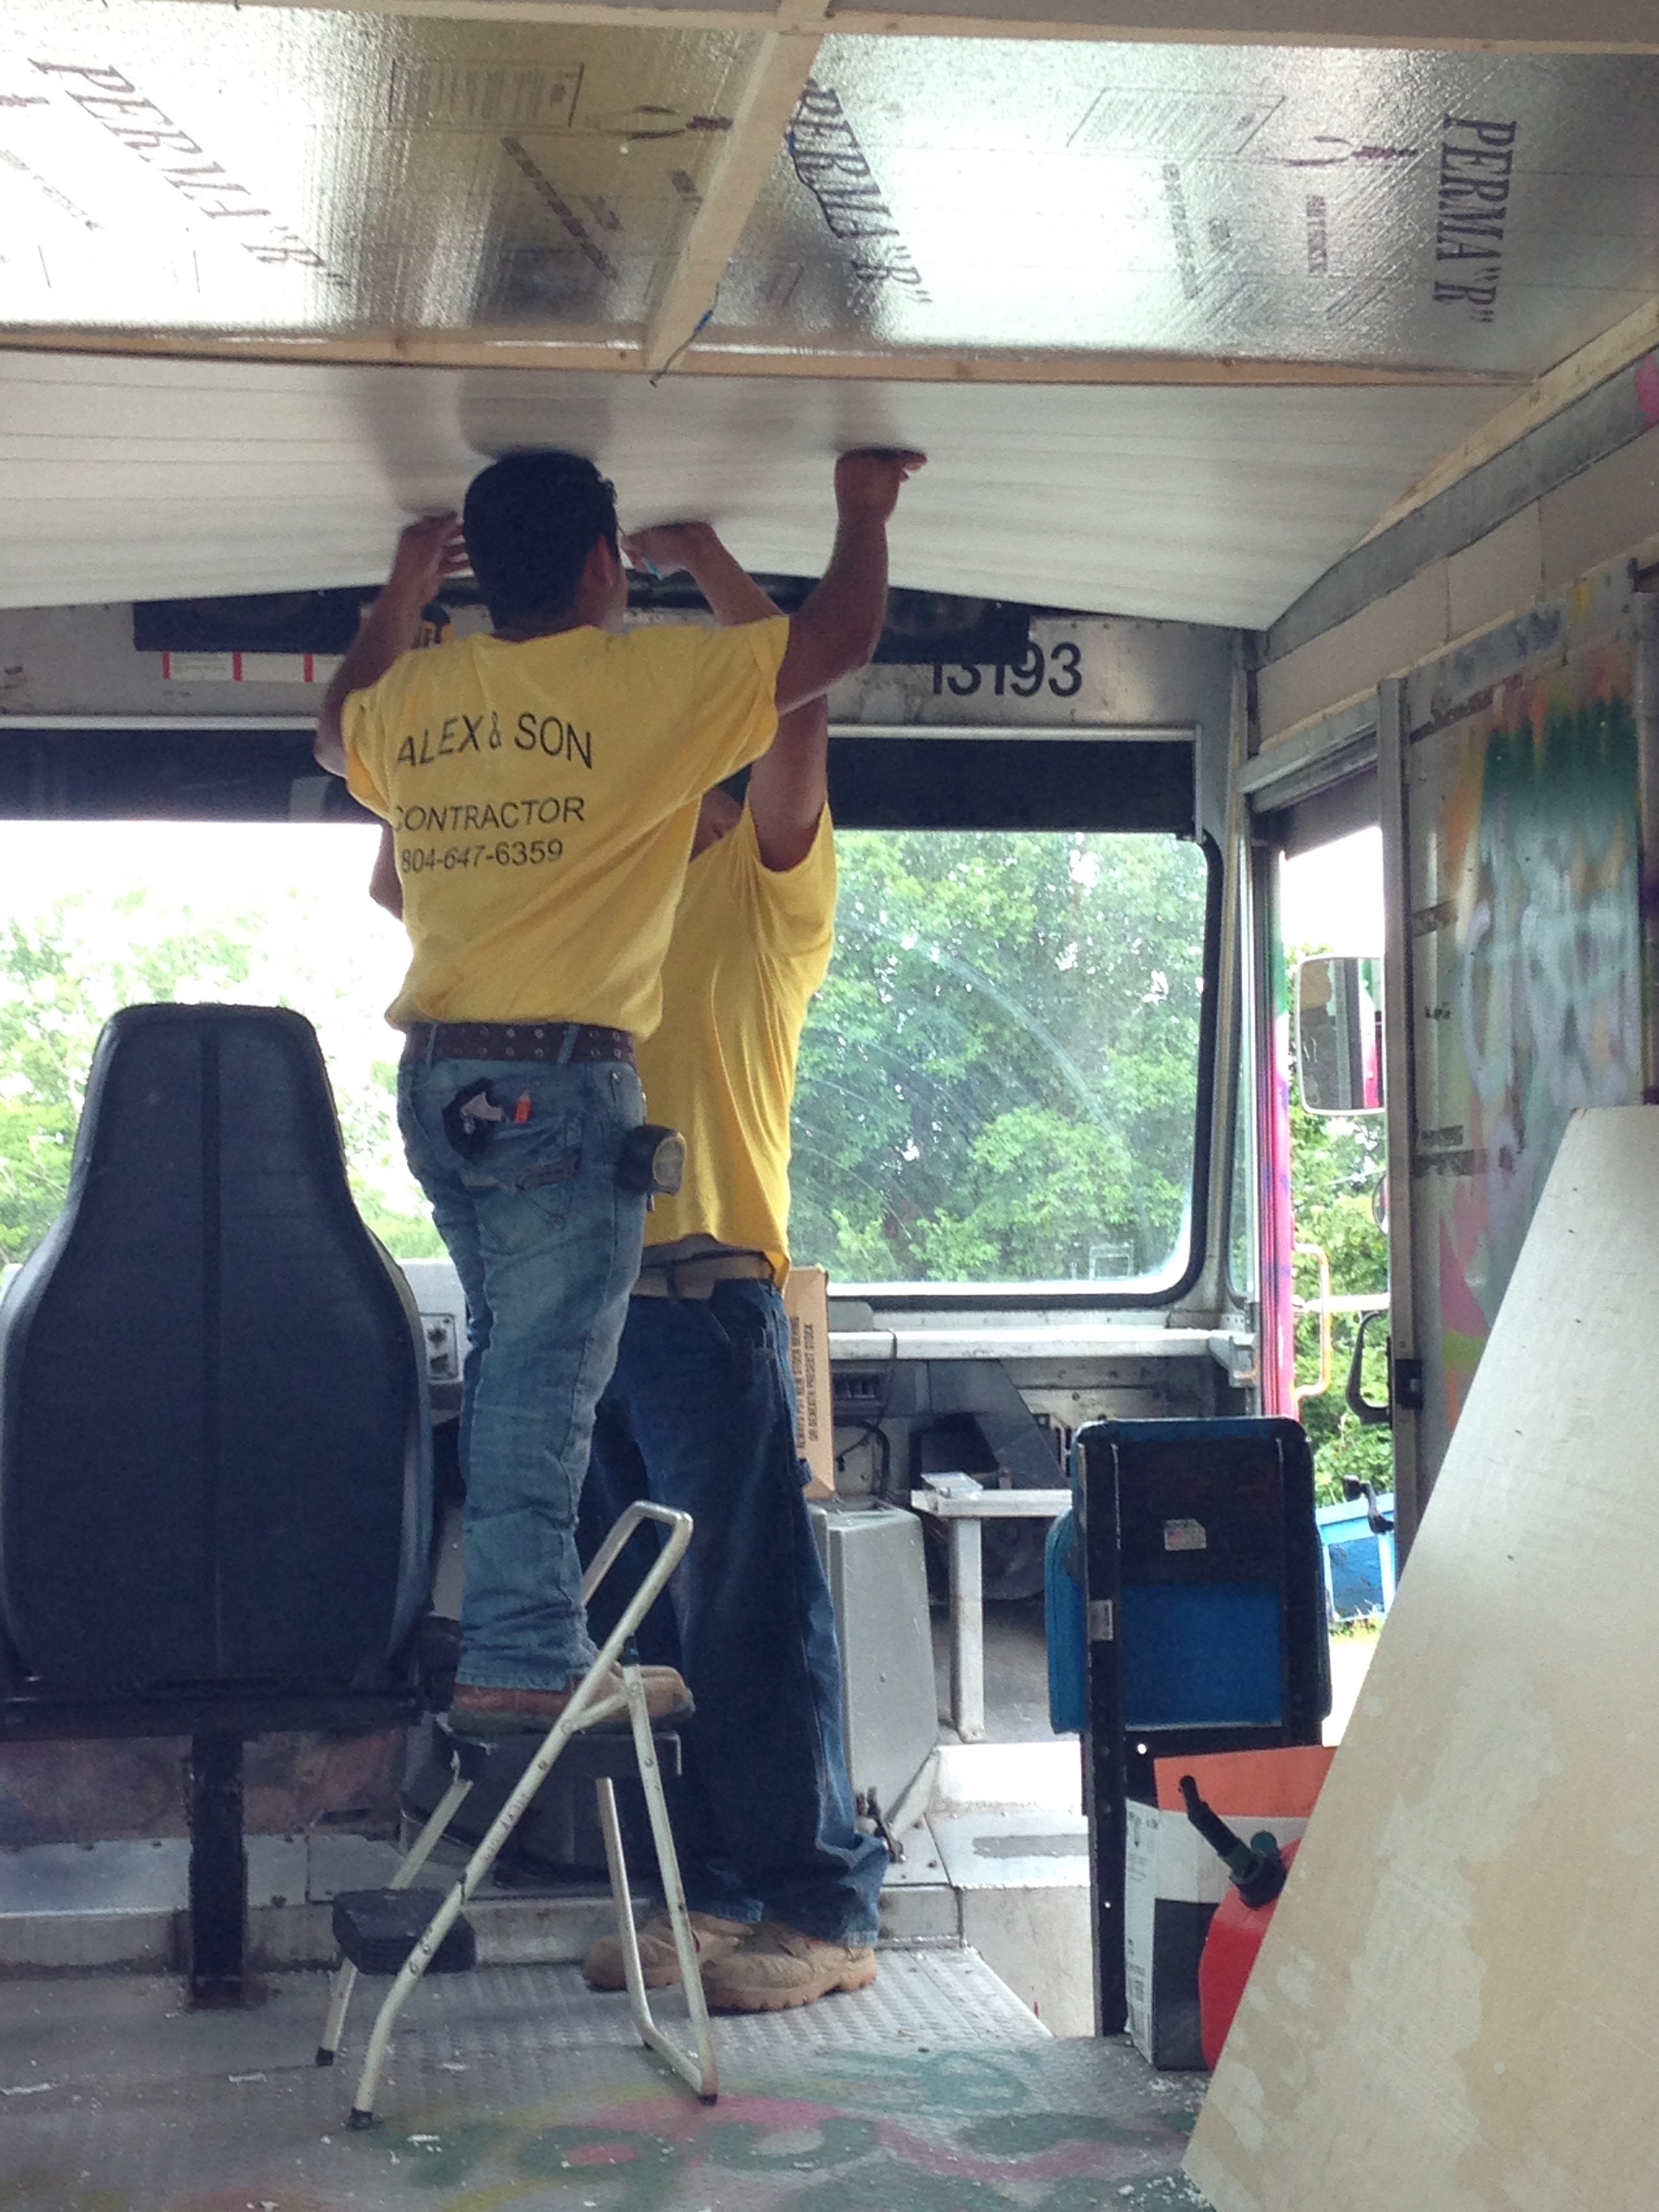
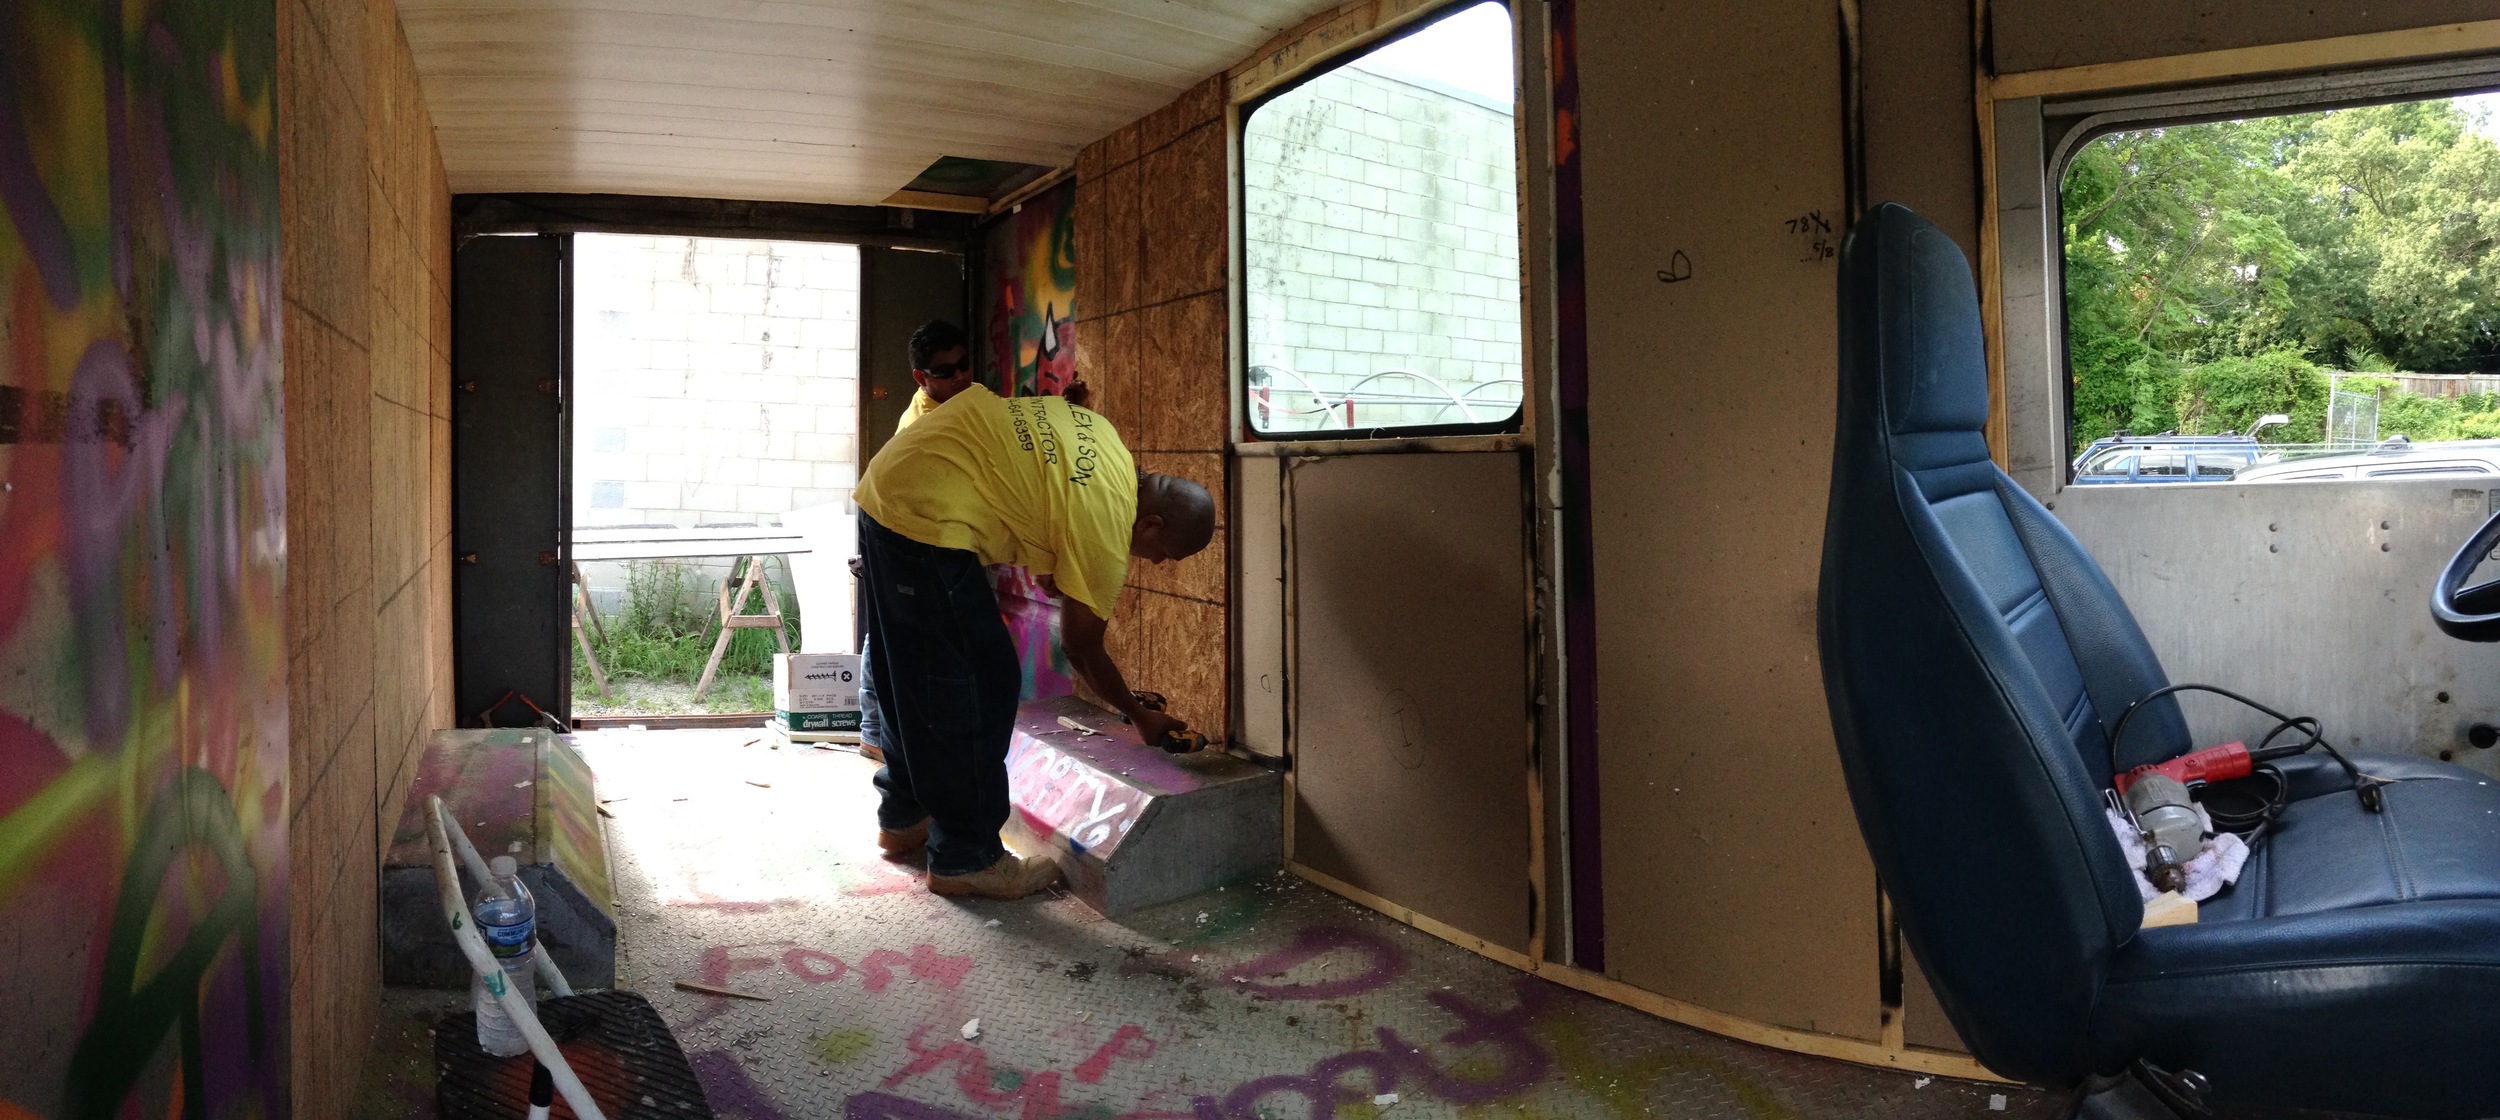
These guys cut and screwed in the ceiling sheets, and cut and placed the wall plywood. I cut more wall insulation to match, spray-foamed all the weird gaps in the wall structure, and screwed it all together. So now my wall is a sandwich of aluminum // wood and foam board and spray foam // more insulation board // plywood. I didn't glue any of that - I feel secure with it all being screwed to the wooden frame, which is screwed to the aluminum.
The plywood partly supports the edge of the ceiling - the ceiling insulation sits on top of the wooden framing, and the ceiling sheathing sits on top of the plywood. The ceiling sheathing is thin MDF-type panels (not exactly sure) (some kind of fine composite) shaped into 'boards.' I completely forgot to put glue up in the ceiling before screwing in the sheathing, and I super regret it. I'm very much considering taking it down again and gluing it back in, because it's already sagging pretty stupidly. It would be purely aesthetic, but it looks super lame :(
So much sagging! This is screwed in every foot on the seams, which are at either end of the 4x8 sheets, and in the center. The wires are from the old cab lights - there are switches on the dash for them. Not sure if I'll use them yet.
Anyway, the order of operations here was important so that the wall and ceiling layers would hold each other up and pin each other in.
The Floor
The floor has been giving me headaches for a while - not because of labor, but because I wasn't sure if my construction method was dumb or not. The truck's floor is just aluminum diamond-plate, sturdy, flat, excellent.... but not insulated. I had planned on framing the floor initially, in order to insulate it and cover with a more friendly surface. Since the aluminum is already doing all the structural work though, I learned I didn't need framing. That leaves my plan with just insulation and plywood sitting on top. I had concerns about that, but long story short I went to a flooring superstore and got some professional advice. That was a really good day, because they basically just said 'yeah, your plan is great, go ahead, nothing special required.'
gluing the floor insulation in.
plywood walls in, floor insulation in
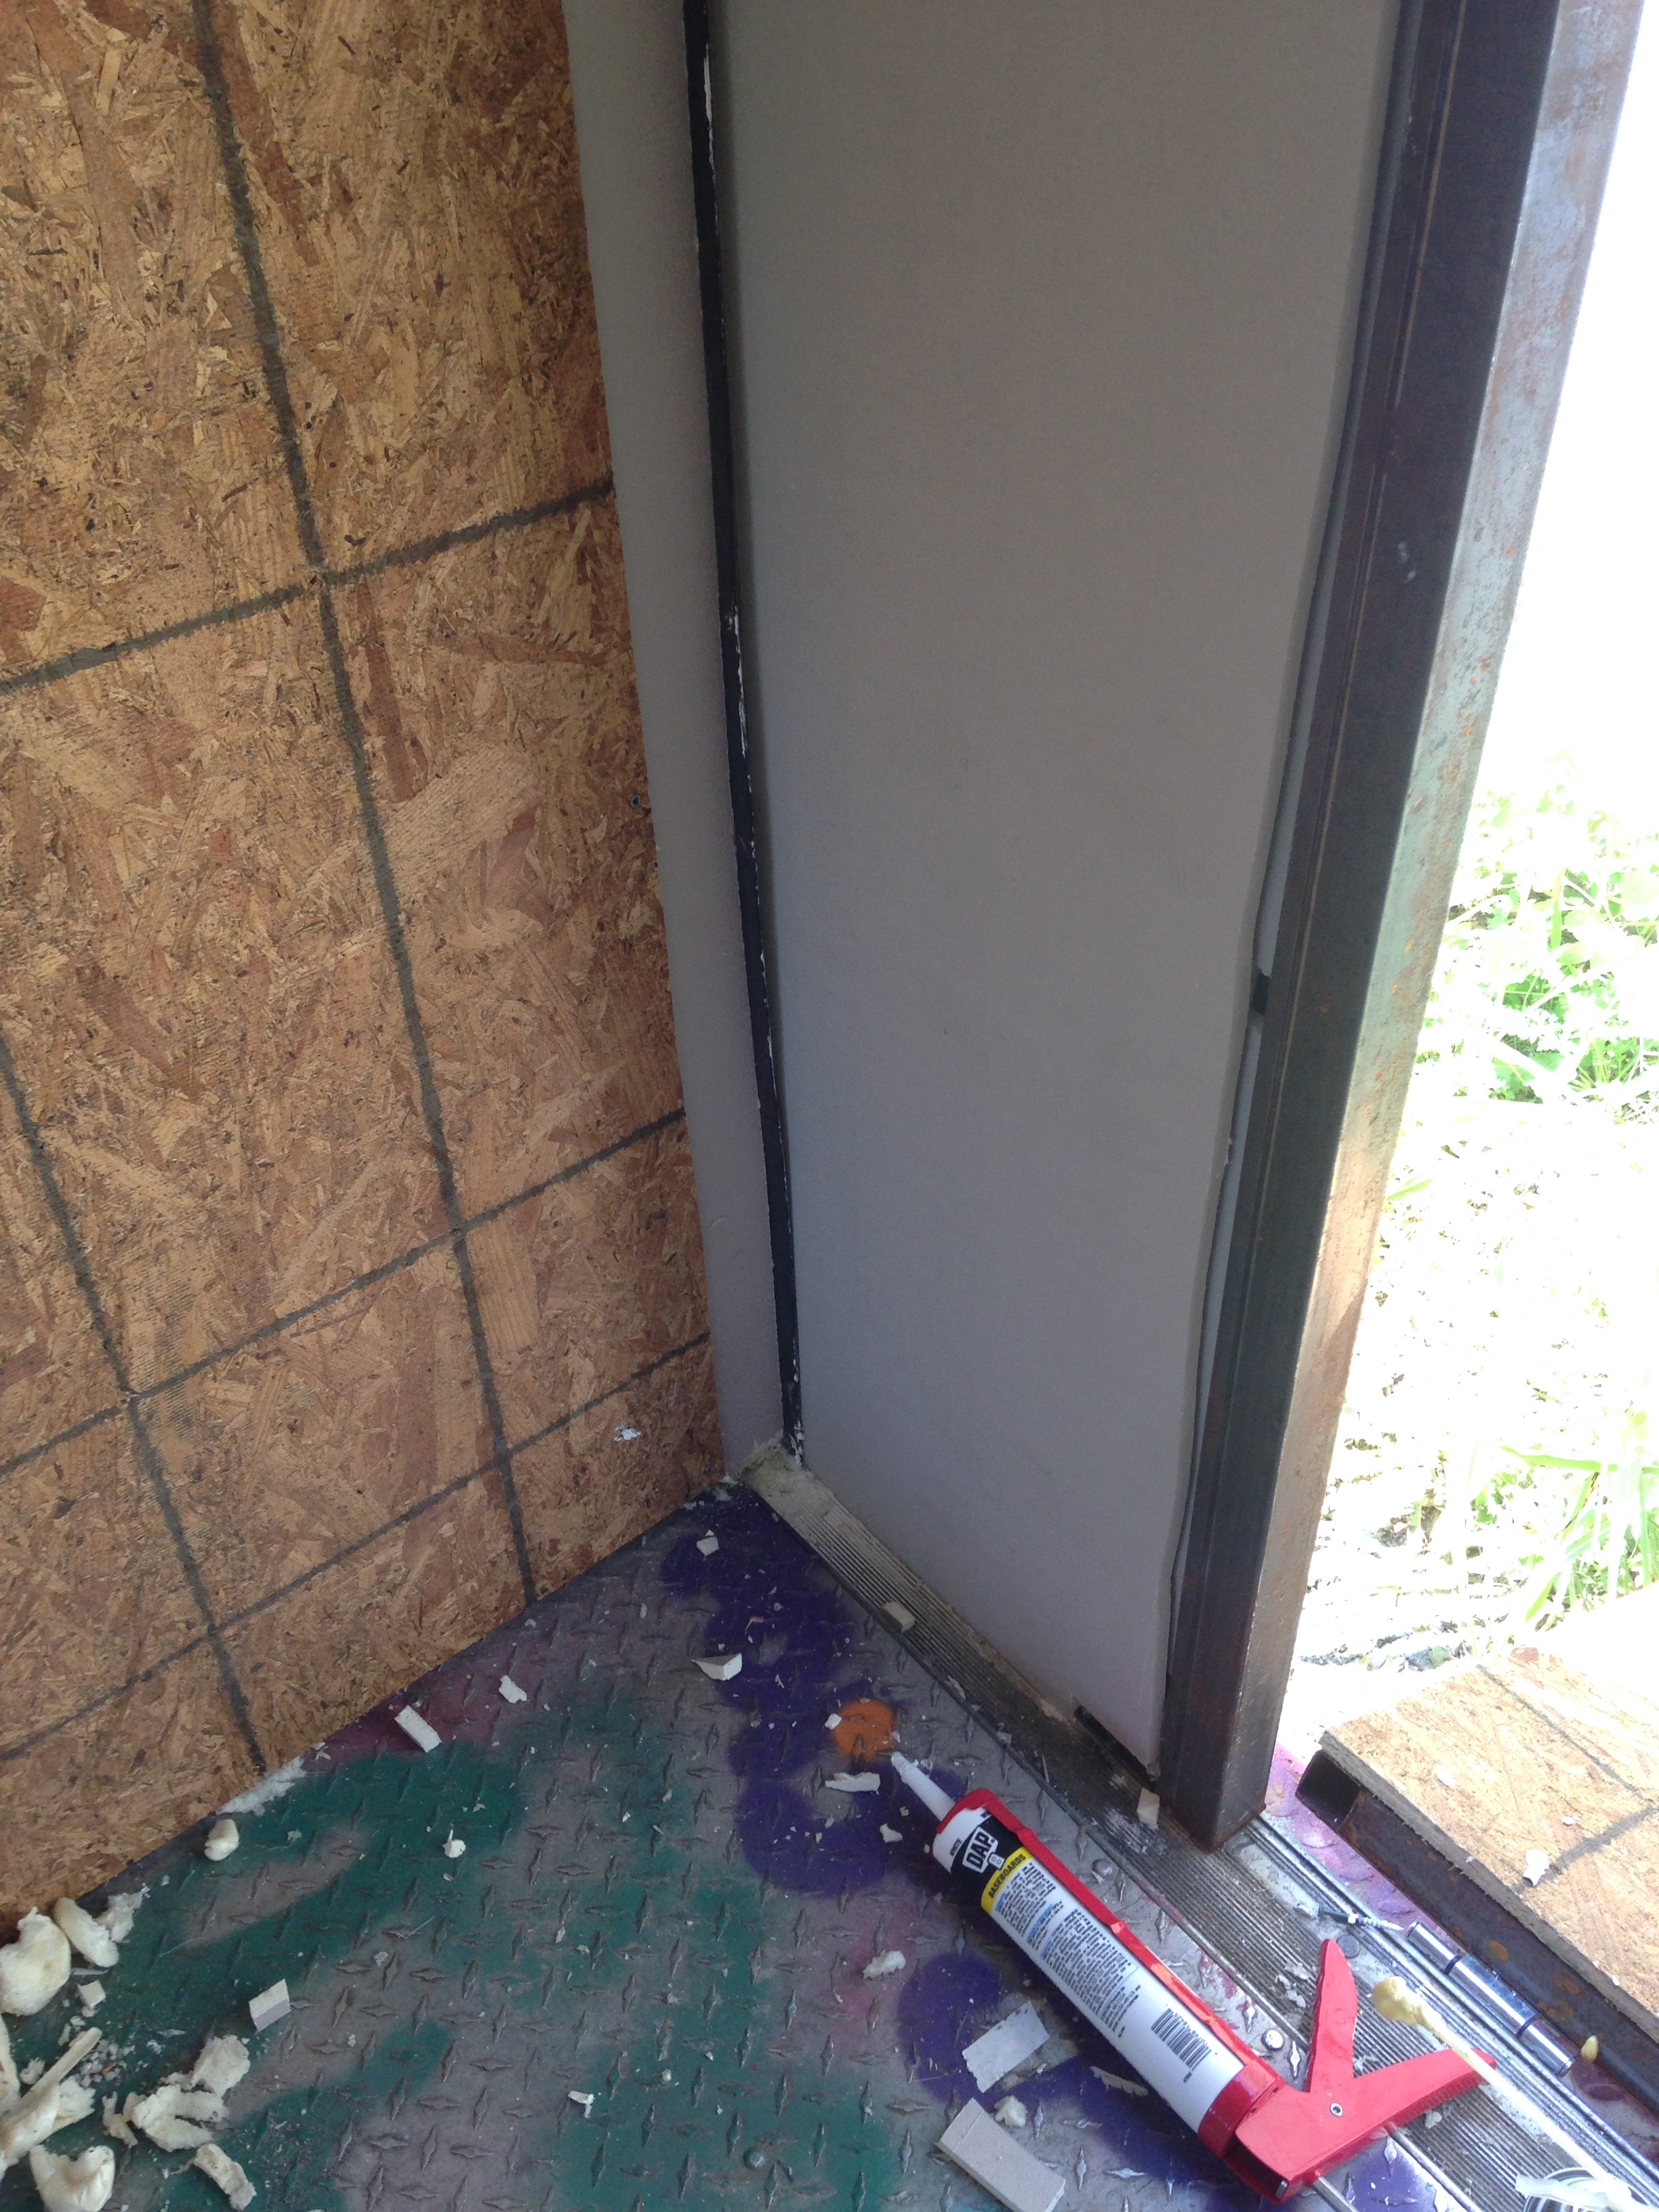
So! I cut and glued insulation to cover the floor in 2.5" of foam board. I used two different kinds of glue - loctite and liquid nails - and this one (loctite?) was just terrible - very hard to get more than 4 inches out at one go. I don't have a lot of reason to fear it moving, but regardless I really hope I put enough glue in :s
Now I'm in the process of cutting and placing a plywood panels to be glued on top. I'll caulk the cracks in between them, maybe sand the whole thing (maybe not) and then paint it all with a think layer of white paint and call it done :) As a paint studio floor, it does NOT have to be nice at all. People recommended some cool stuff like replaceable carpet tiles, kids foam flooring, etc, all with the spirit of being able to easily replace the parts I mess up..... but let's be real, it's ALL gonna get messed up for sure.
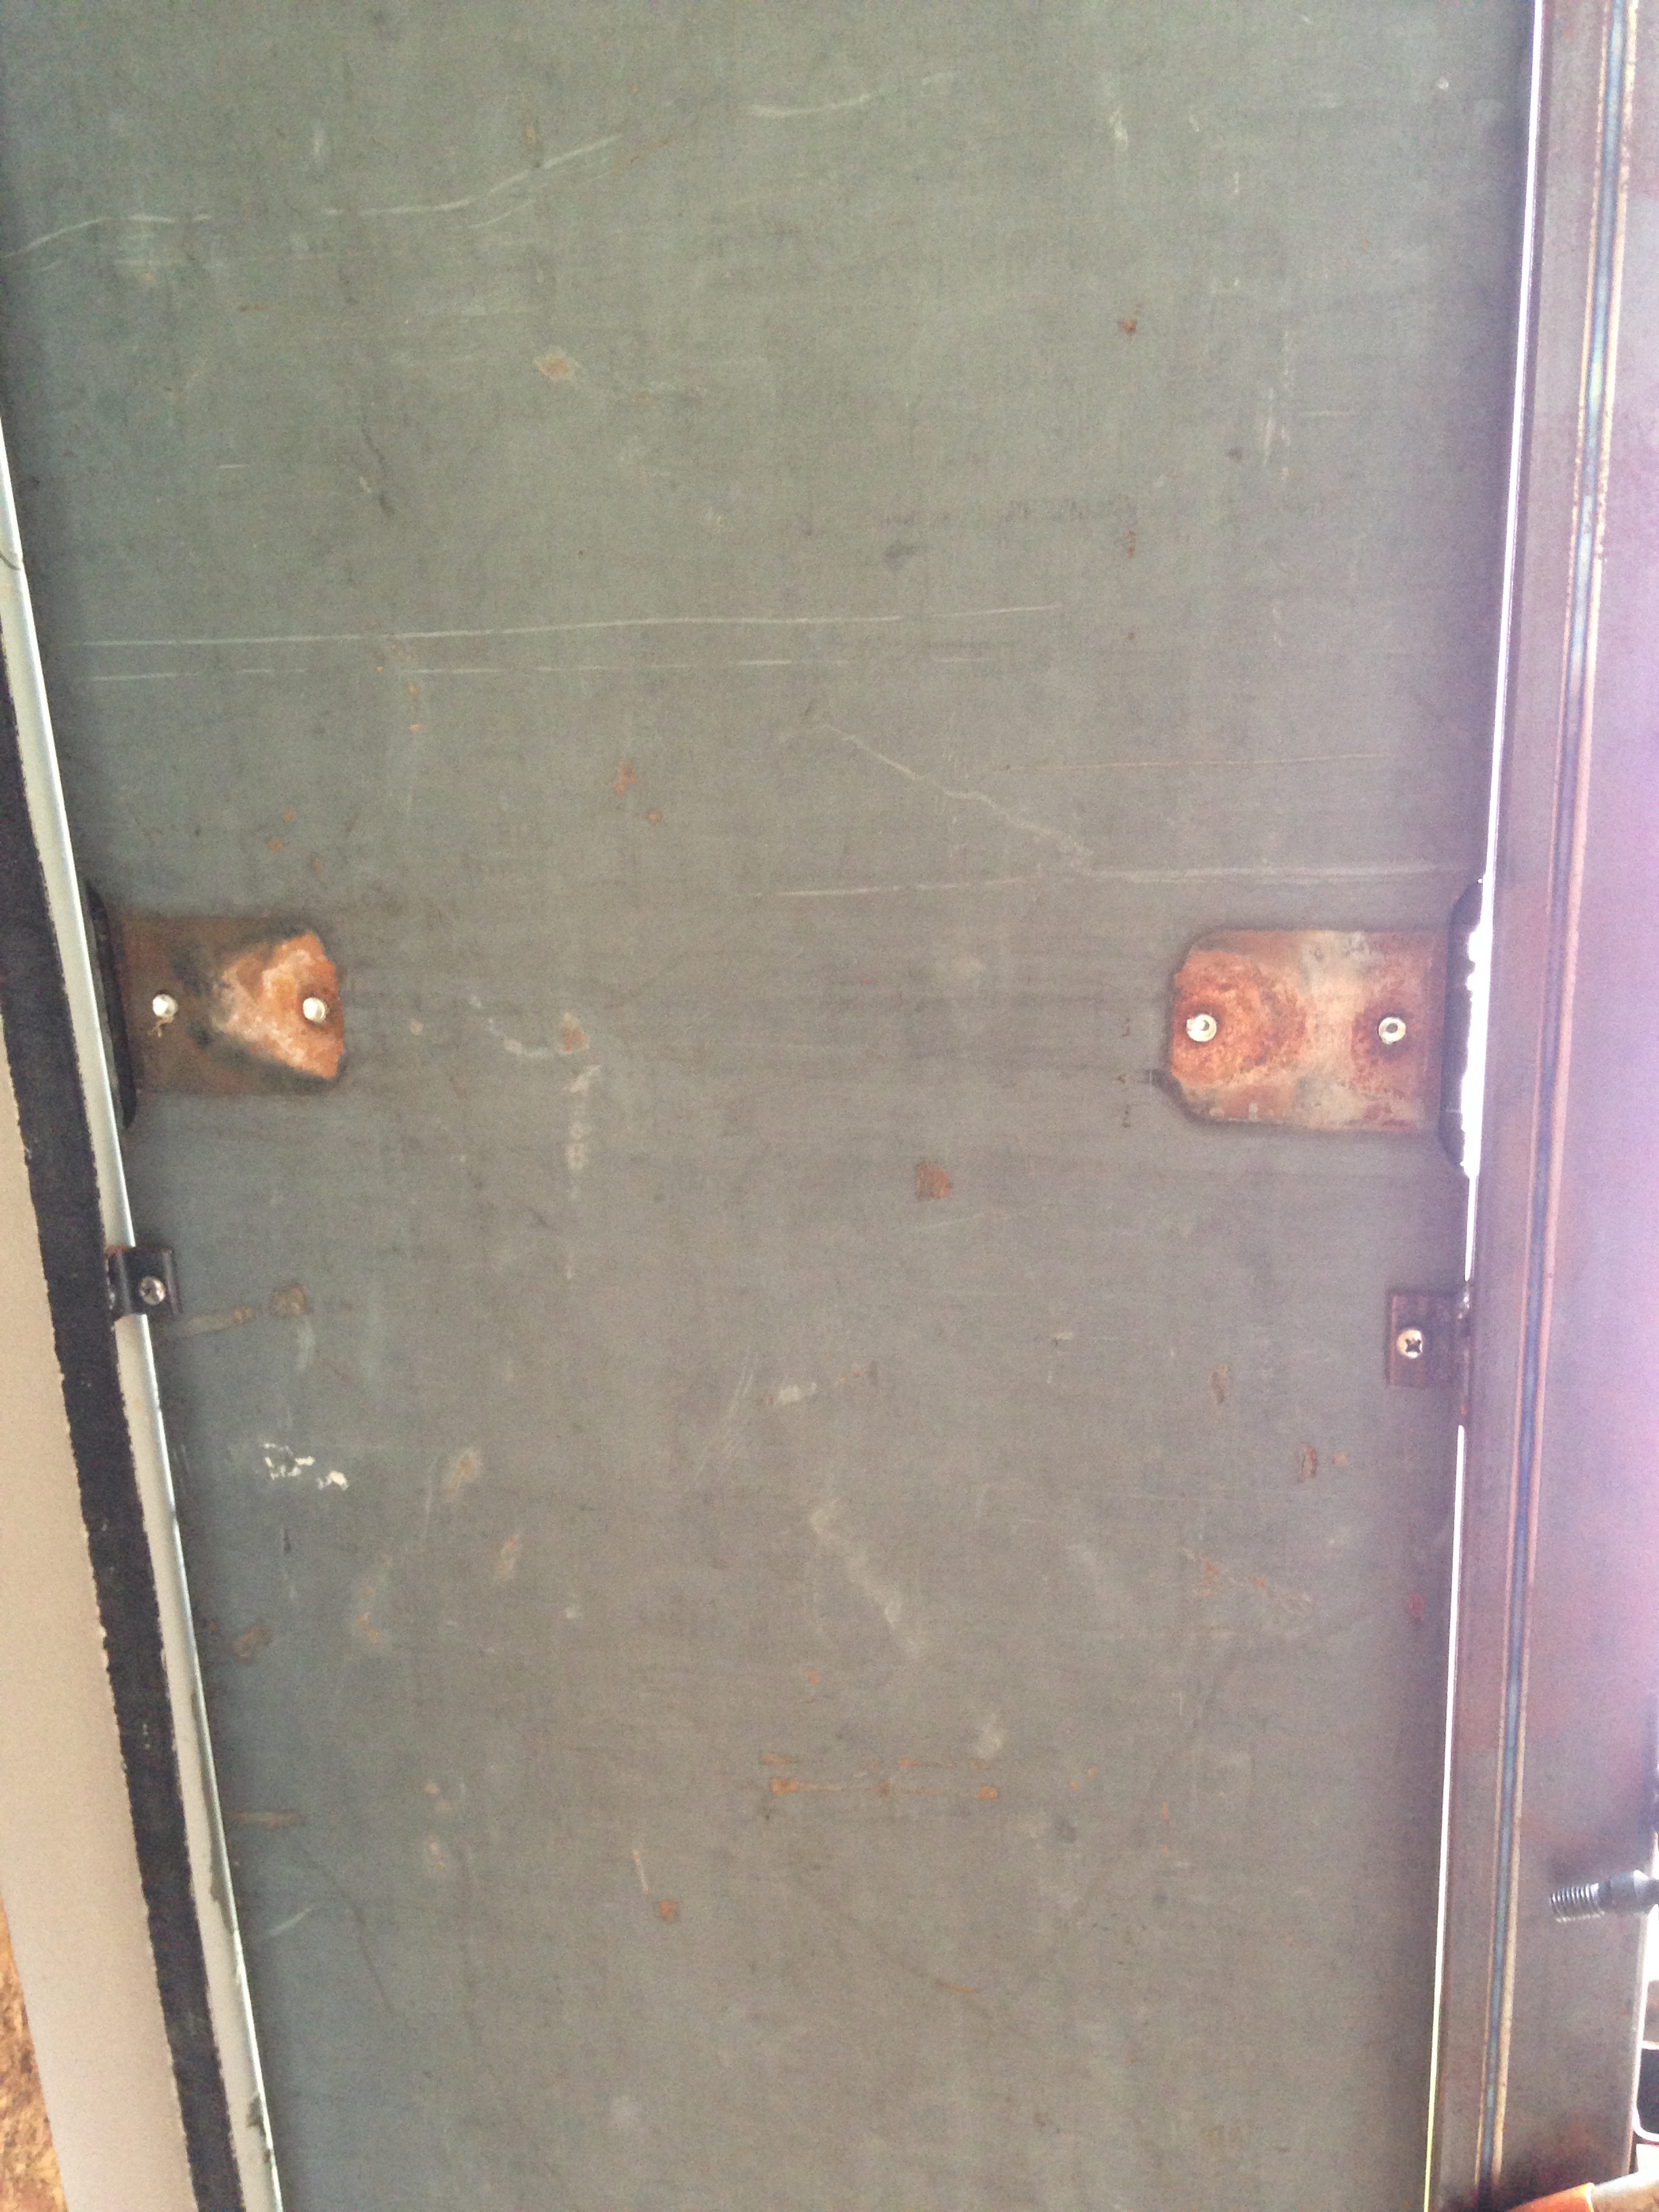
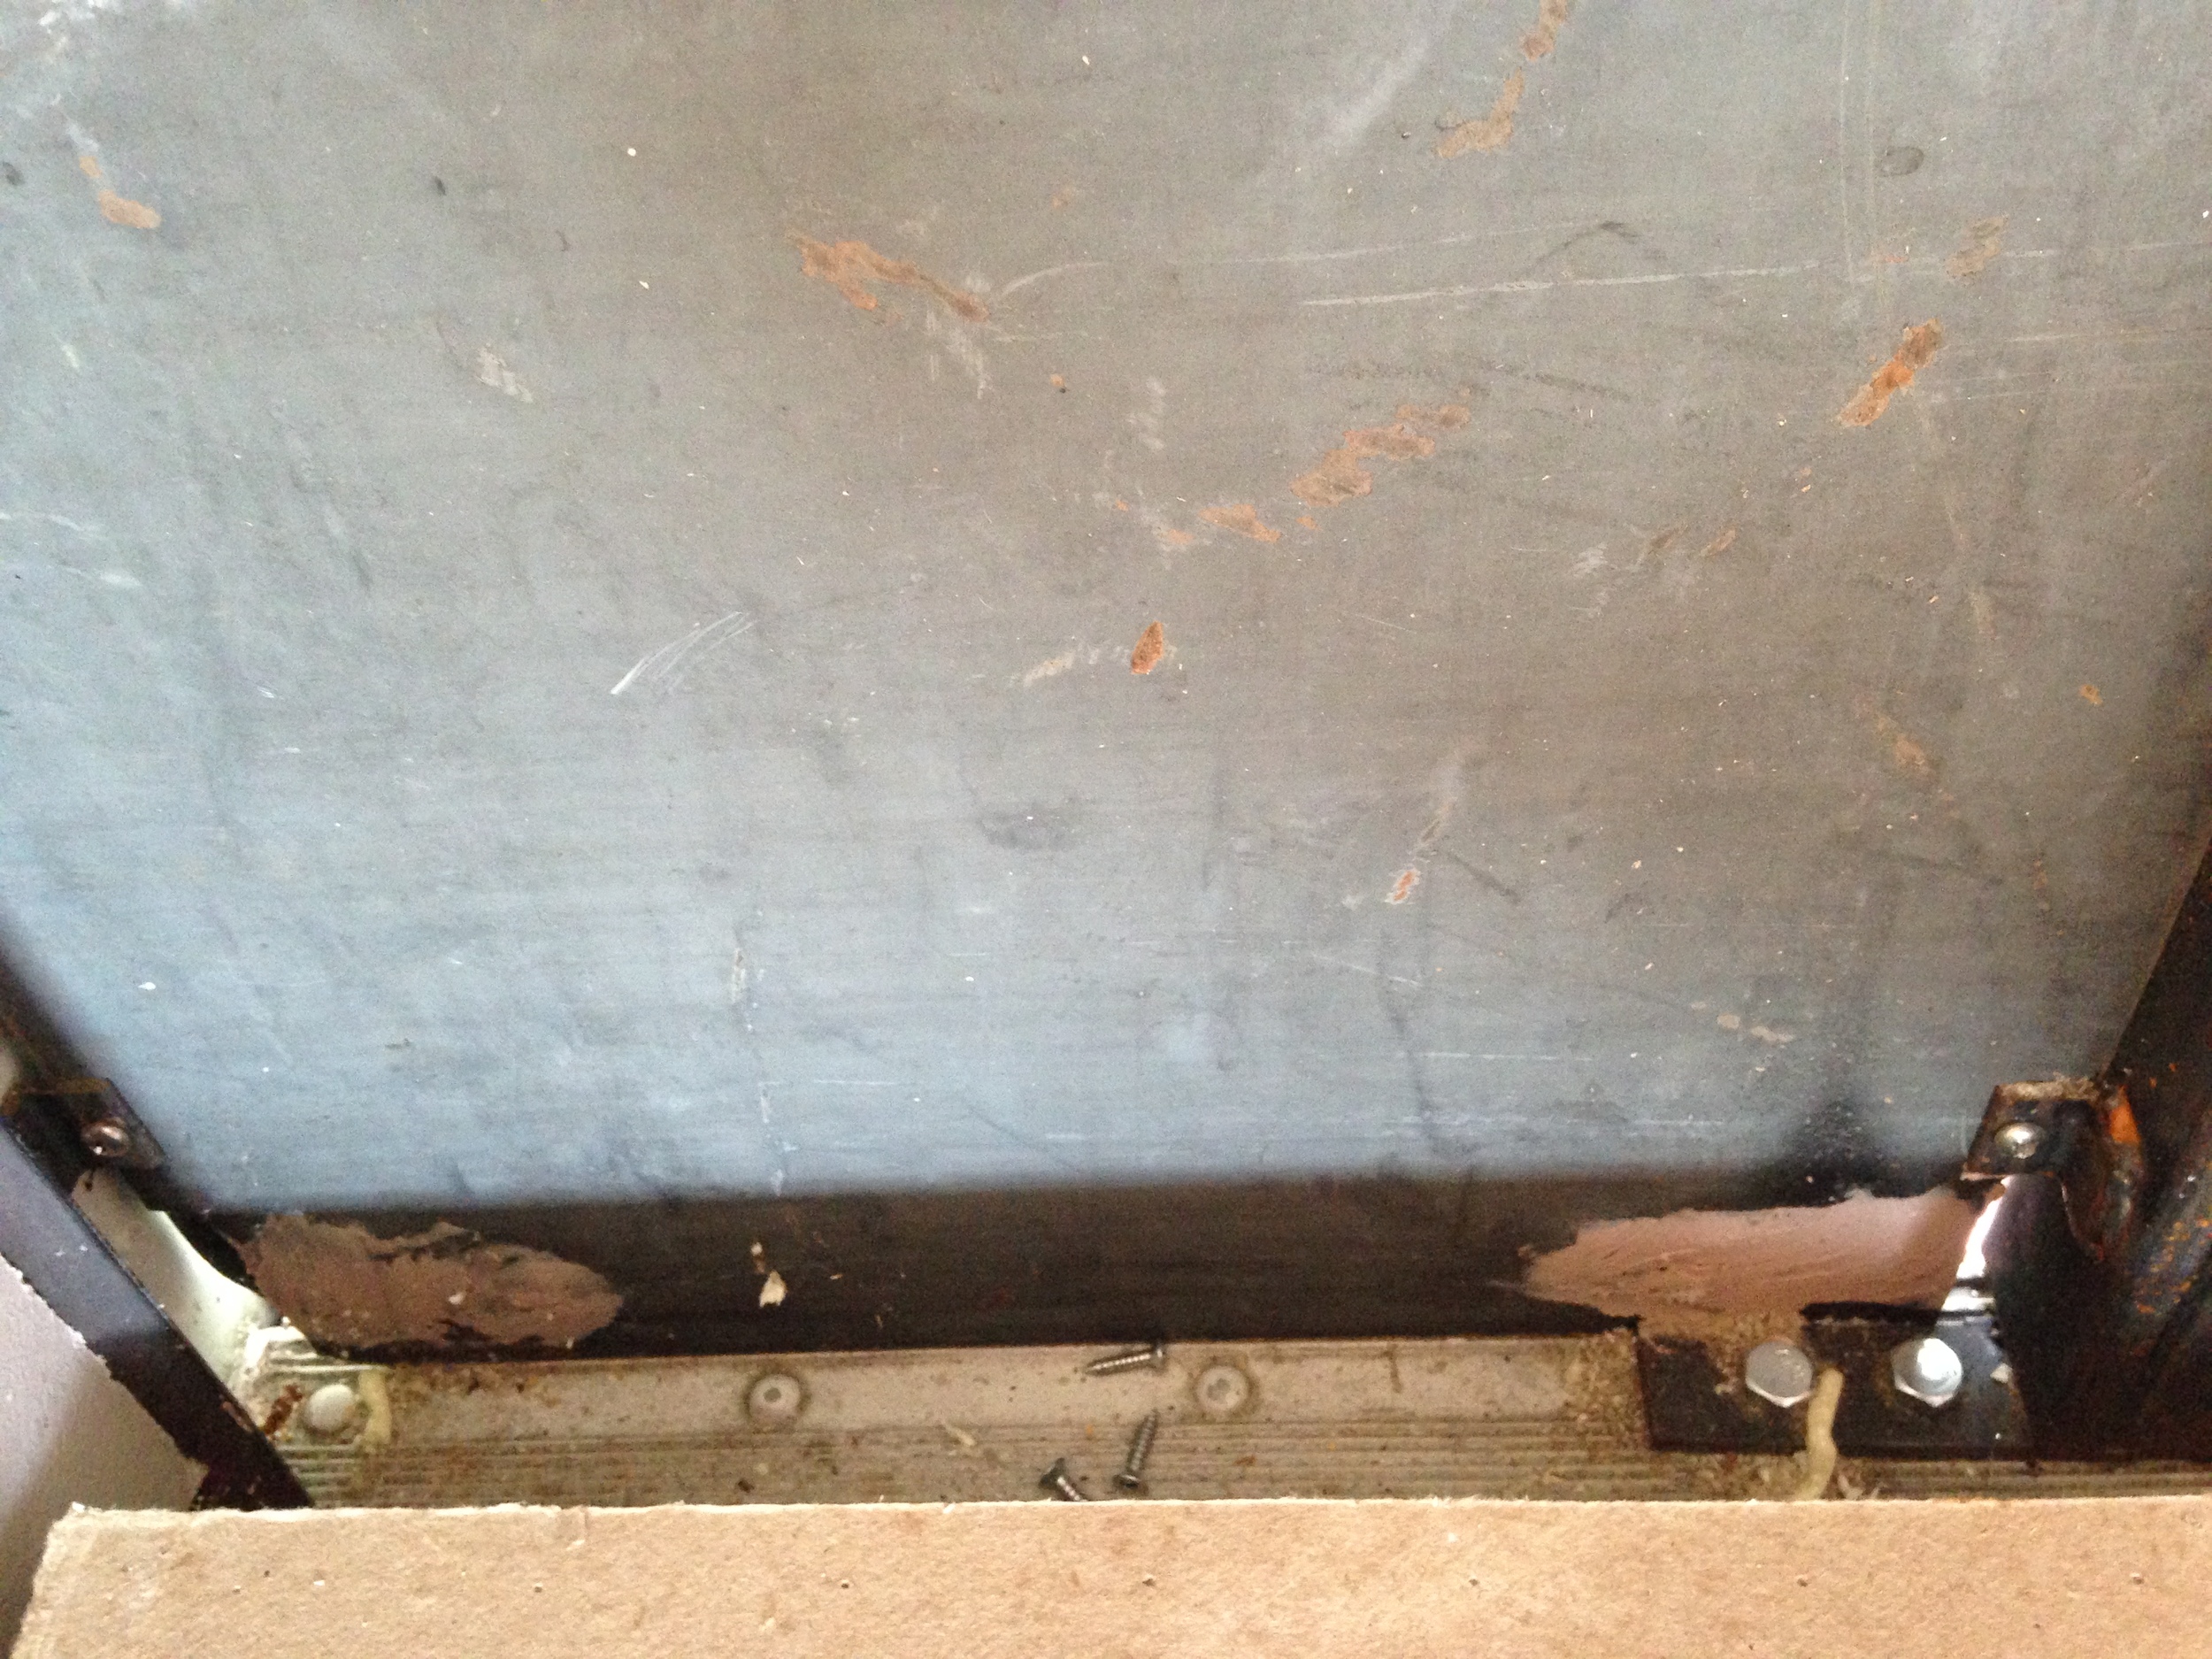
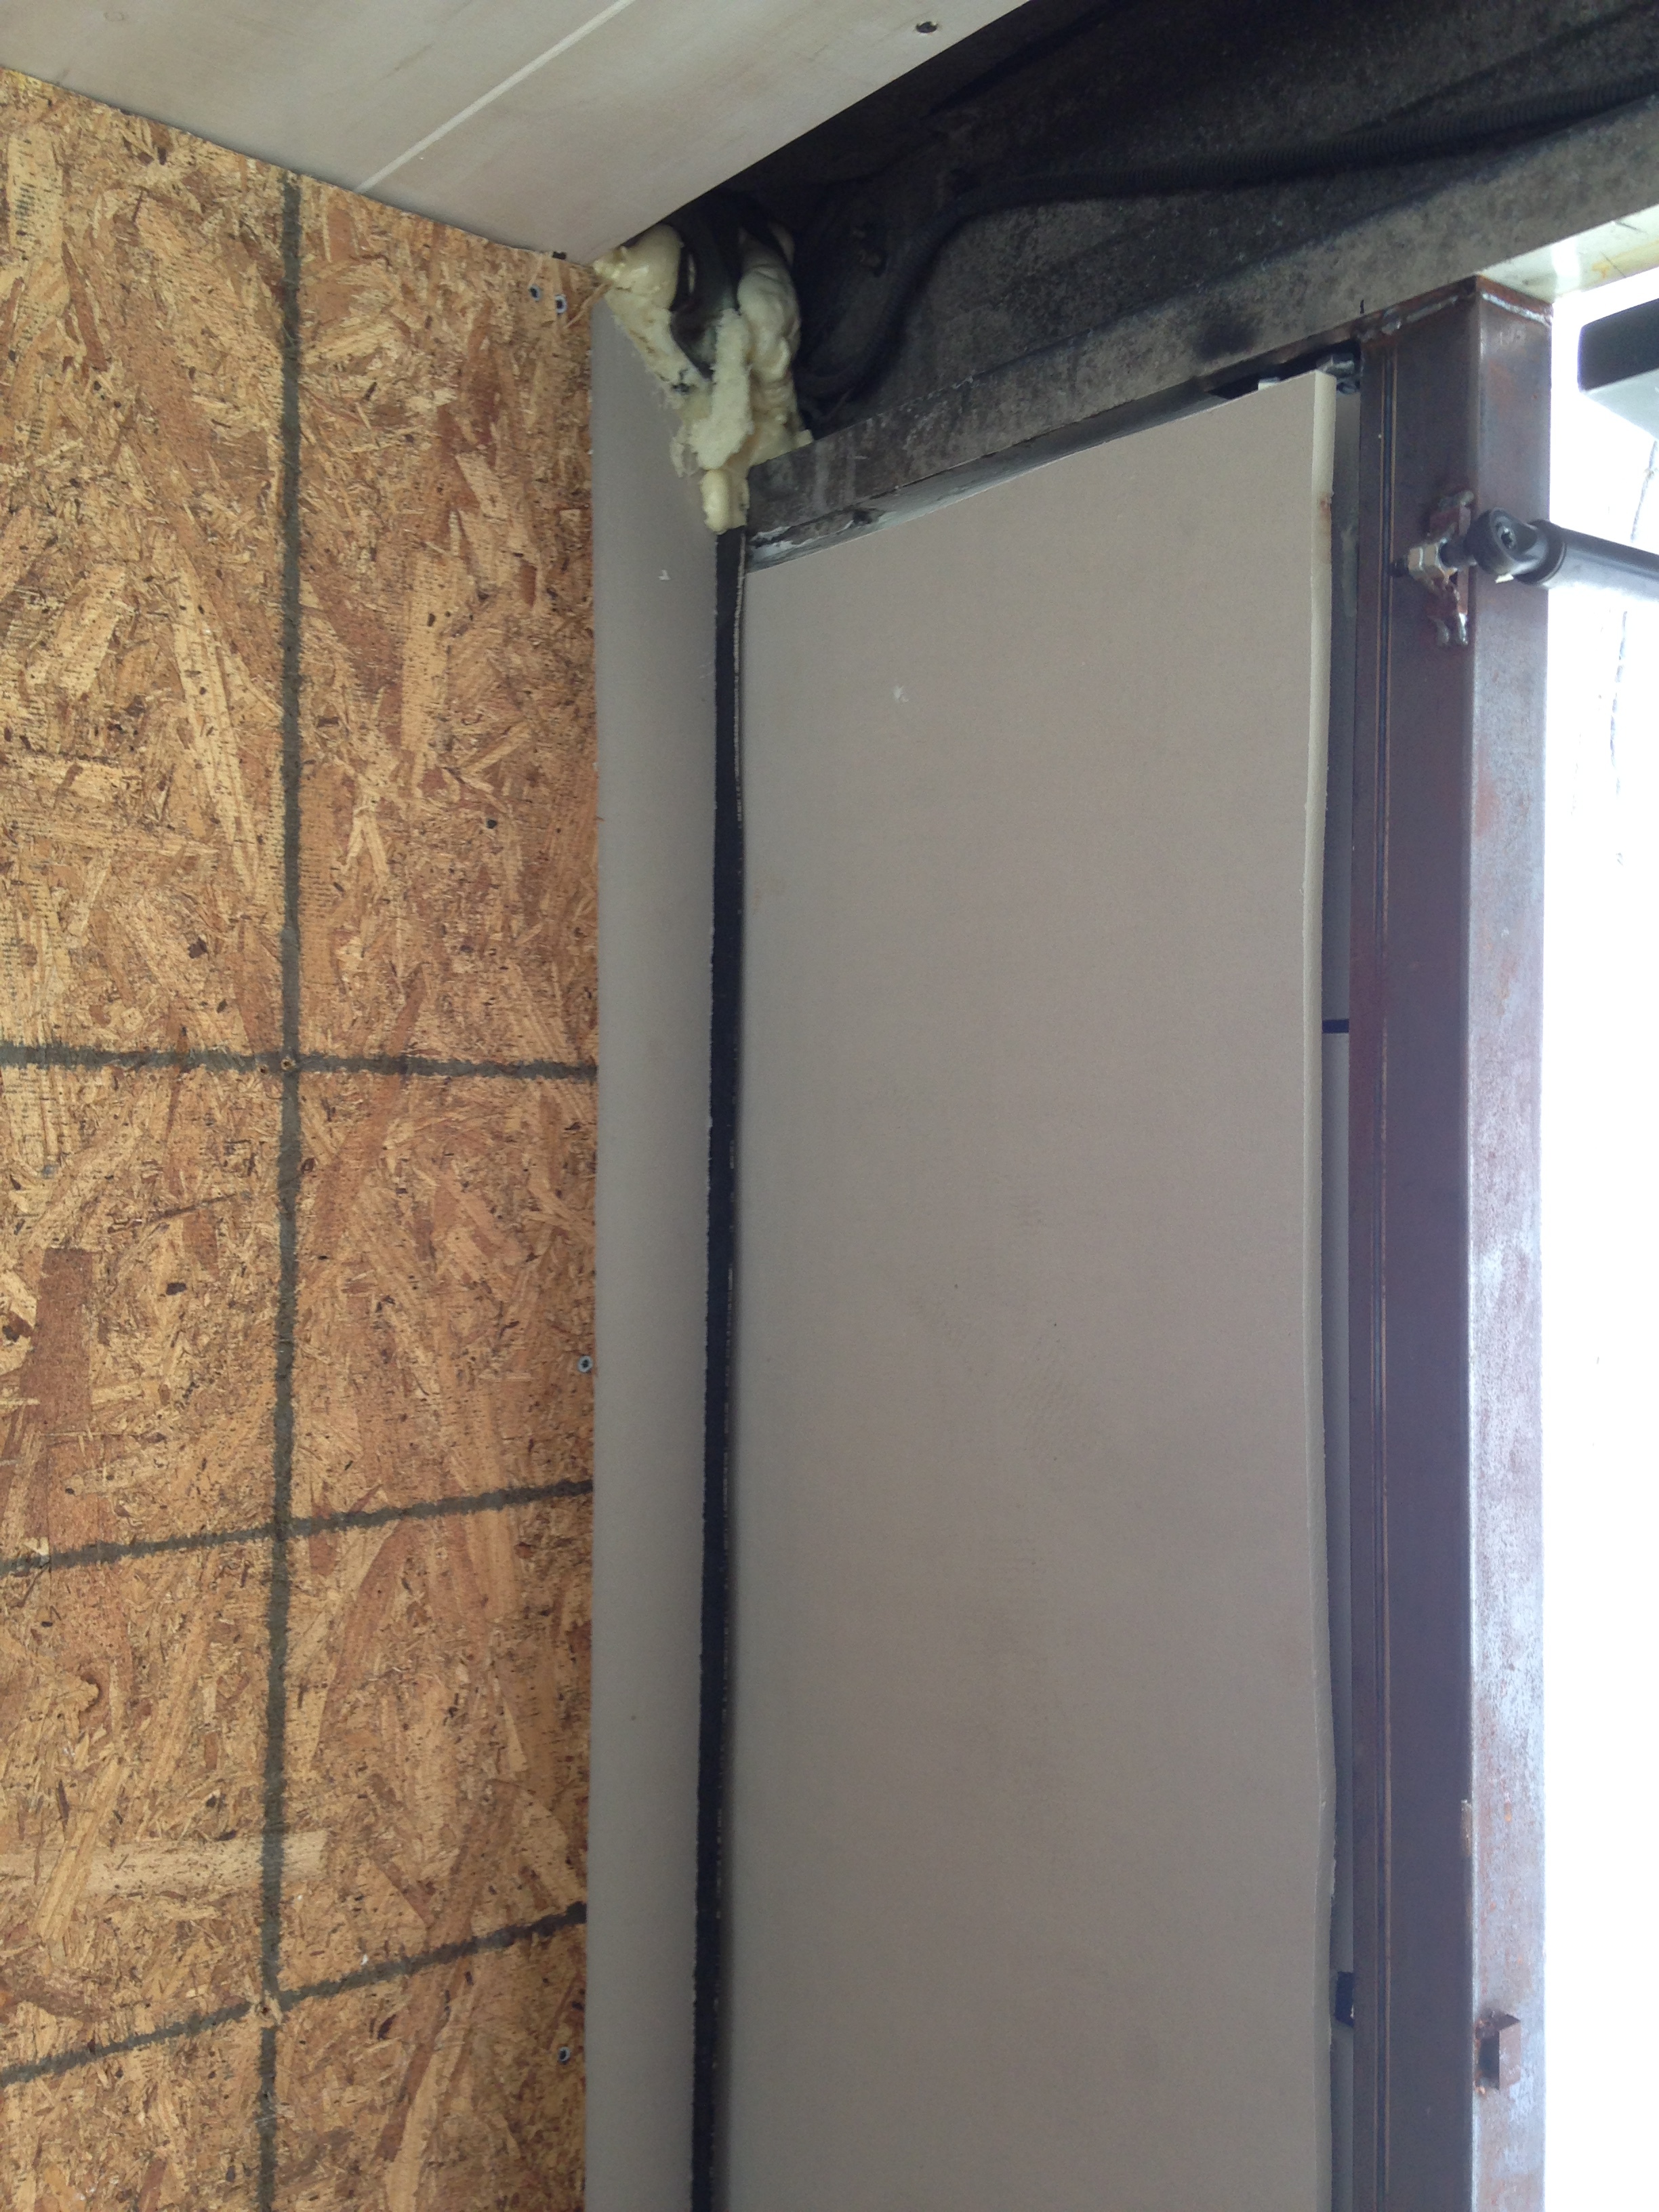
This whole back section has also been a headache area. Latching the back door sections is still a mystery I haven't totally solved, which means that it's hard to tell what I can cover up back there. At this point though, I've sealed up the back passenger-side panel with spray foam (in the really big corner gap) and caulk (around the whole rest of the panel inside and out). Got two layers of insulation panels on there, which I had to trim around each little bracket holding that door panel on.


The backdoor is ALMOST DONE
Ruben finished constructing the awning window and then worked with the auto glass guy down the street to get the old salvaged window fit in.
More work than it looks - steel frame and steel sheet, all welded and ground down to a smooth seam on inner and outer edges. The reclaimed aluminum-framed sliding window was fit in with new gasket after a lot of re-grinding.
The taxi service next door sold us two pressurized rods for like $10 (!!!!), so now it's all attached to the truck and lifts up on it's own! Two challenges left: it needs latches to hold it down (probably little sliding bolts into the metal posts on either side), and it needs a handle for me to pull down on. It's VERY 'heavy' - the two rods are enough to lift a minivan trunk up, so it takes a lot of force to bring it down. I might take one off, but then it would not stand allll the way up. I'm not sure what they're rated, but I may also try to find smaller ones.
Mouth open. The ramp has a temporary plywood cover, but eventually i'll build mini stair steps onto it since the incline is STEEP.
Mouth closed. Everything sits flush when closed, except the little scalloped fringe site over top of the lower door/ramp.
Bonus side-quest ~adventure~
I ran allllll around town trying to find the right kind of handle I wanted for the window (and actually a few more for other parts of the van), and ended up in some crazy truck supply places deep in Southside talking to grizzled old mechanics about parts catalogs. Nothing better than walking into this place with my bumblepack and a vague notion of what I'm talking about.
This place was so so so big.
Next Steps
- measure and cut all plywood for the floor
- glue it in, put weights on it
- caulk the little seams
- get the latches for the back doors figured out
- re-install the ceiling panels???? D:
- start building the interior walls for furniture stuff!!!